
Leaking taps are hardly an emergency, but if left to drip incessantly they can drive a person insane. A constantly dripping tap is also a tremendous waste of water, which if you are on a water meter, could prove to be rather expensive: a leaky tap can quite easily drip away up to 24,000 litres of water over a twelve month period. So why do people ignore leaky taps? A DIY FixMost people put up with a leaking tap because they mistakenly think it is difficult to fix and if they have to call out a plumber, it will cost them a fortune. But really, sorting out a leaky tap is well within the capabilities of a competent DIY enthusiast and if you have the right tools to hand, there is no reason why you can’t fix the tap yourself. | 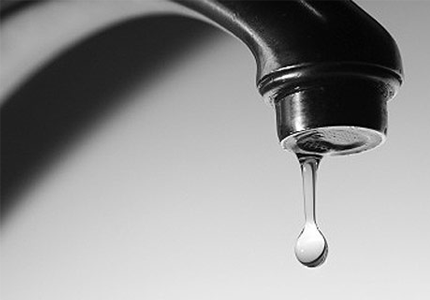 |
The Right Tools for the Job
To fix a leaking tap you need a few basic tools:
- A set of spanners
- A screwdriver
- Some clothes to protect the chrome tap fittings
- Replacement tap washer
Fixing a Leaking Tap
Before doing anything, make sure you turn the water off at the mains stop tap. Do make sure the water is off before you remove the problem tap or you will end up soaked and standing in a foot of water, which won’t do either the kitchen or bathroom much good. To do this, turn the taps on and leave them to drain out until there is no more water in the pipes.
Remove the top of the tap and the screw beneath. This will enable you to take the tap head off. If the tap head is stuck, spray some WD-40 into it to loosen it up (you may need to leave it for ten minutes or so to work).
Remove the body of the tap using a spanner. Do this very carefully and protect the chrome surface with a soft cloth. The washer is the circular rubber donut at the end of the tap body. Replace it with a new washer and re-assemble the tap, making sure you don’t over tighten any of the parts.
Turn the water back on and test the tap (if no water comes out, make sure you have closed off all the other taps). Does it still leak? If so, the washer was not the underlying issue and you need to go back to the drawing board and start again.
When the Washer isn’t the Problem
More often than not, a worn out washer is not the cause of a leaking tap. A more likely root cause is the valve seat upon which the washer sits. Over time, this becomes worn, often as a result of lime scale in hard water. The surface develops fine grooves and etched lines, which break the seal of the washer and allow water to seep through. Grinding down this surface with a purpose made seat grinder will solve the problem by creating a smooth surface for the tap washer to adhere to.
Help! I Can’t Fix My Tap!
In theory it should take no more than 20 minutes to fix a leaking tap, but if the mechanism is worn or you have tried all of the above and you still have a leak, then it is probably time to call on a plumber to do the job for you. Most plumbers will charge for one hour’s work, even if the job takes them less than five minutes, including a cup of tea and a chat. If you want to pay as little as possible, try and be flexible about when the plumber can visit – if he is able to call in on his way home, for example, he might charge you less. Or wait for a few weeks and call him to install your new stainless steel towel radiator and replace your tap at the same time.
Don’t forget to get a couple of quotes before engaging a plumber and ideally go with someone you know or who comes with good references.