There comes a point in every parent’s life when you dream of having a bathroom all to yourself. Instead of queuing up outside the bathroom every morning, feeling as if you are a tenant in your own home, you can relax and enjoy a pleasant soak in the bath or a leisurely shower. With teenagers in the house, such a happy scenario is out of the question. They take forever in the bathroom, doing what teenagers do best, which is personal grooming on an epic scale.
The best way to avoid losing access to the bathroom every morning (and evening) is to provide them with their very own bathroom. That way you can enjoy having a bathroom all to yourself and they can spend as much time as they like primping and preening in front of the bathroom mirror. So, what things should you include in a teenager’s bathroom?
Power Shower
Ideally install a shower in a teenager’s bathroom. They will want to have a bath or shower at least once per day, so it makes sense to provide a shower as it will save you money on your water bill if you are on a water meter. You may even wish to consider the possibility of a wet room.
Storage Space
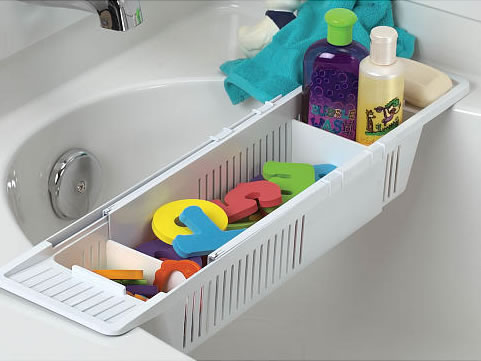
Ample storage space is a must-have in any teenager’s bathroom. Most teenagers have vast collections of makeup, lotions and potions, all of which take up a lot of space. One bottle of shampoo and conditioner won’t be enough. They are more likely to have about fifty, plus matching bottles of conditioner, hair serum, and anything else they think will make them look cool.
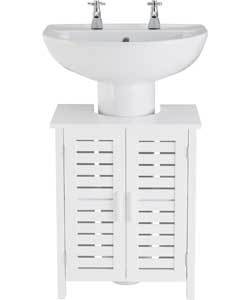
Since the majority of their time will be spent staring into the bathroom mirror, it makes sense to have a fitted vanity unit rather than a standard sink. This will give them lots of room to store their bottles, spot creams and beauty accessories. A storage unit in the shower cubicle or above the bath is also a good idea as this will keep some of the clutter out of the shower tray and bath.
Mirror, Mirror
As we have already mentioned, teenagers do like to spend an inordinate amount of time gazing into the bathroom mirror. A large mirror with an inbuilt lighting – think movie star - vanity mirror would be the ideal bathroom accessory for an image conscious teenager. Providing adequate lighting should help to ensure they don’t overdo the fake tan or makeup.
A Laundry Basket
Most teenagers treat the floor as one big laundry basket. They assume that the laundry fairy is hovering nearby, ready to collect their dirty laundry and return it in a convenient pile, washed and ironed. One way to encourage your teenager to be a bit tidier is to provide them with a laundry basket. Do make sure it is large enough, though, as most of them use a clean towel virtually every day and bath towels soon fill a laundry basket up.
Funky Décor
It is a good idea to consult your teenager before deciding upon a decorative scheme. Just because you like pastel colours or plain white tiles, they might not be of the same mind. Take their tastes into consideration, but don’t allow them to talk you into something too outrageous. Just because they have seen an amazing bathroom on At Home with the Kardashians, it doesn’t mean that floor to ceiling marble is a great idea in their small bathroom.
However you choose to design your teenager’s bathroom, make sure you provide them with lots of cleaning equipment and full instructions on how to clean a bath, shower and toilet. It will be a valuable lesson for them.